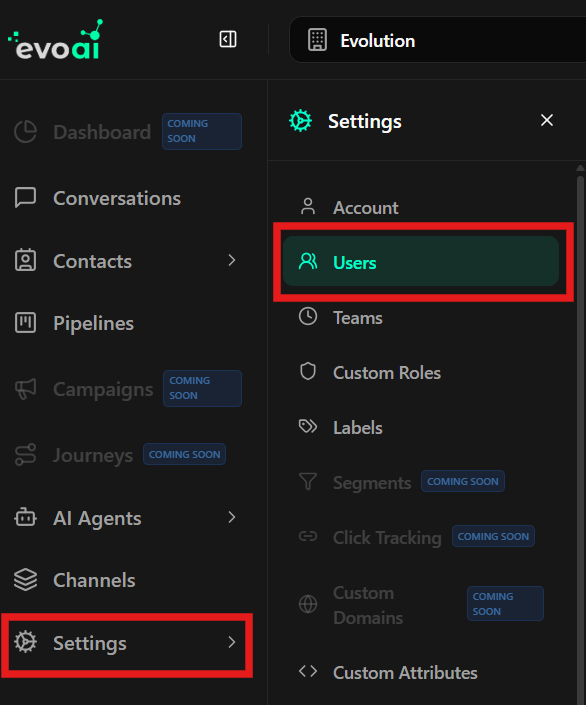
Accessing User Management
- In the sidebar menu, click Settings.
- Select the Users option.
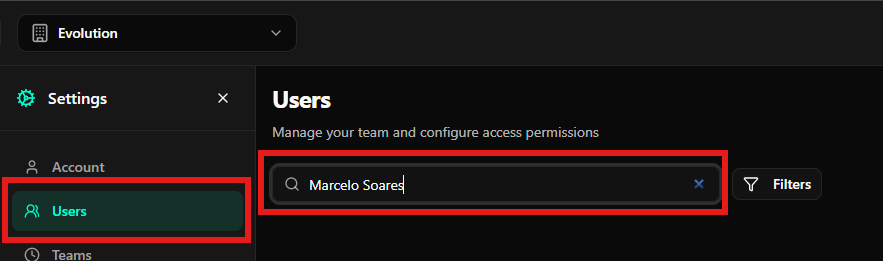
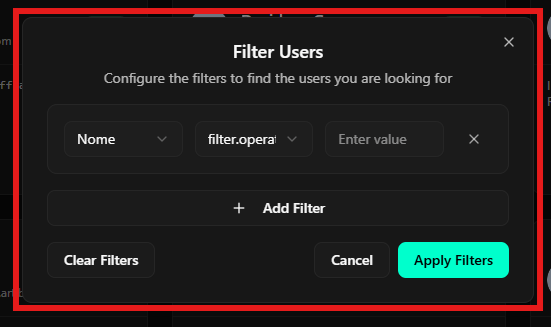
Searching and Filtering Users
The platform offers tools to quickly locate team members:- Direct Search: Use the search bar at the top to filter by name or email.
- Advanced Filters: Use the filters button for more complex criteria.
Creating a New User
To add a member individually to your team:-
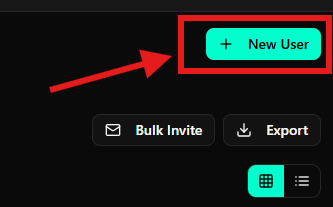
Click the + New User button in the top right corner.
-
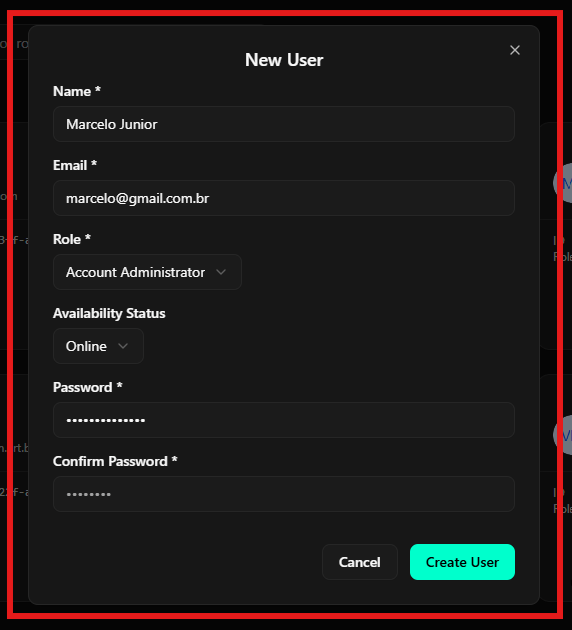
Fill in the required fields in the form:
- Name: Full name of the collaborator.
- Email: The email address that will be used for login.
- Role: Defines the access level (E.g., Account Administrator, Agent).
- Availability Status: Defines if the user starts as Online, Offline, or Busy.
- Password: Set an initial password and confirm in the field below.
-
Click Create User to finish.
Bulk Invite
This functionality is ideal for adding large teams at once.-
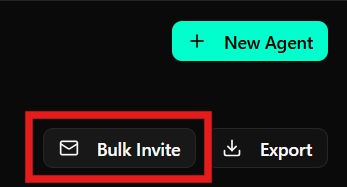
Click the Bulk Invite button.
-
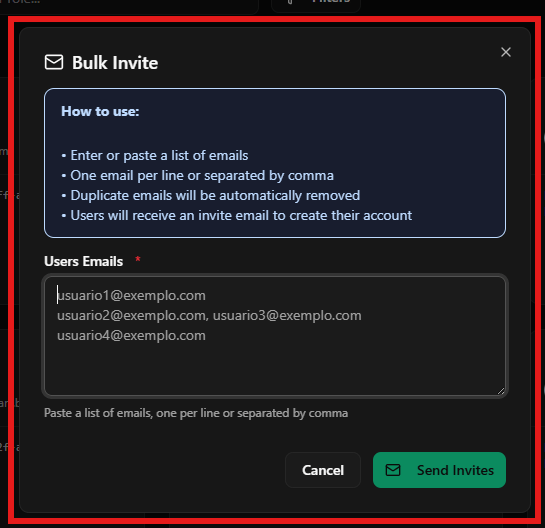
In the modal that will be displayed:
- Paste the list of emails, one per line or separated by commas.
- The system will automatically remove duplicate emails.
- Users will receive an invitation email to create their accounts.
-
Click Send Invites.
Exporting Data
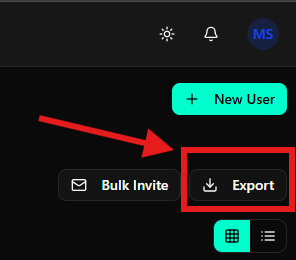
You can generate a file with the list of all account users for audit or external management purposes.- Click the Export button located in the page header.
- The system will process the download of user data.