

Accessing the Channels Section
To access the Channels area, use the main navigation menu on the left side of the screen.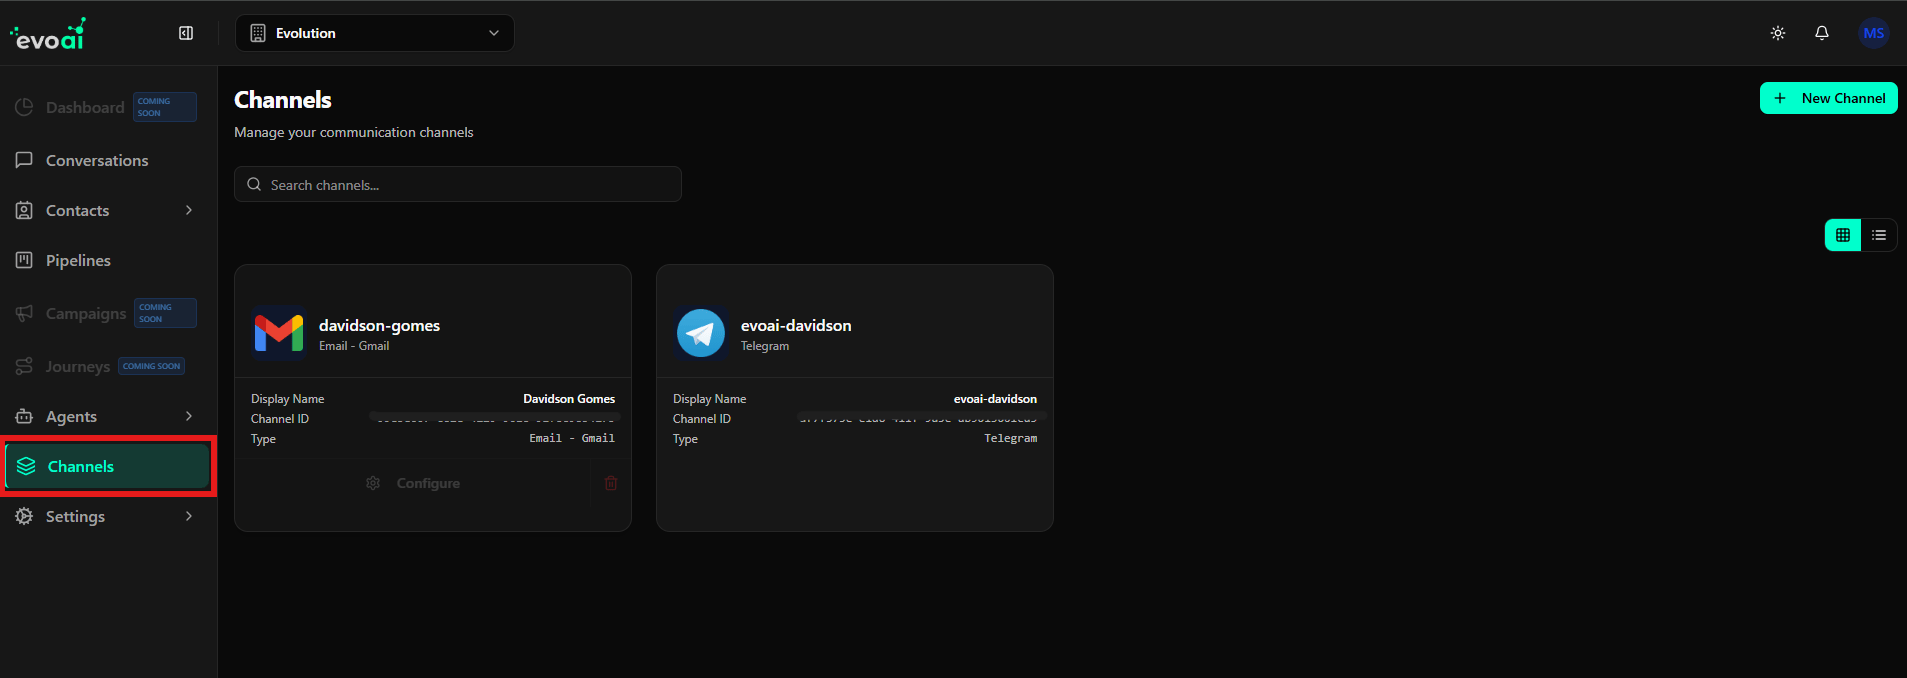
Searching Channels
At the top of the Channels screen, there is a search field that helps you quickly find a specific channel.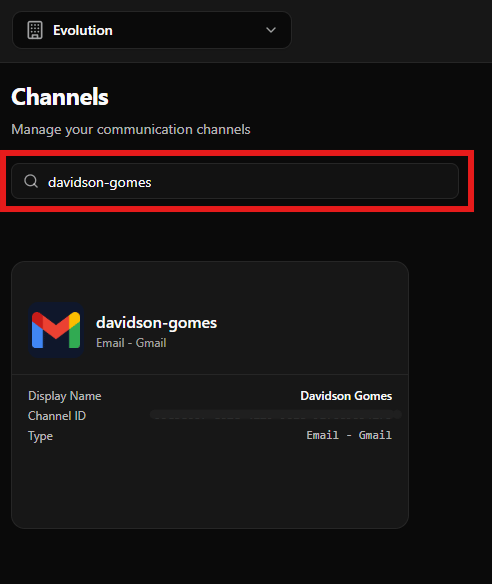
- Searching channels by display name
- Quickly locating a channel when many channels are configured
- Reducing the visible list in real-time as you type
Creating a New Channel
To add a new communication channel, use the New Channel button located in the upper right corner of the screen.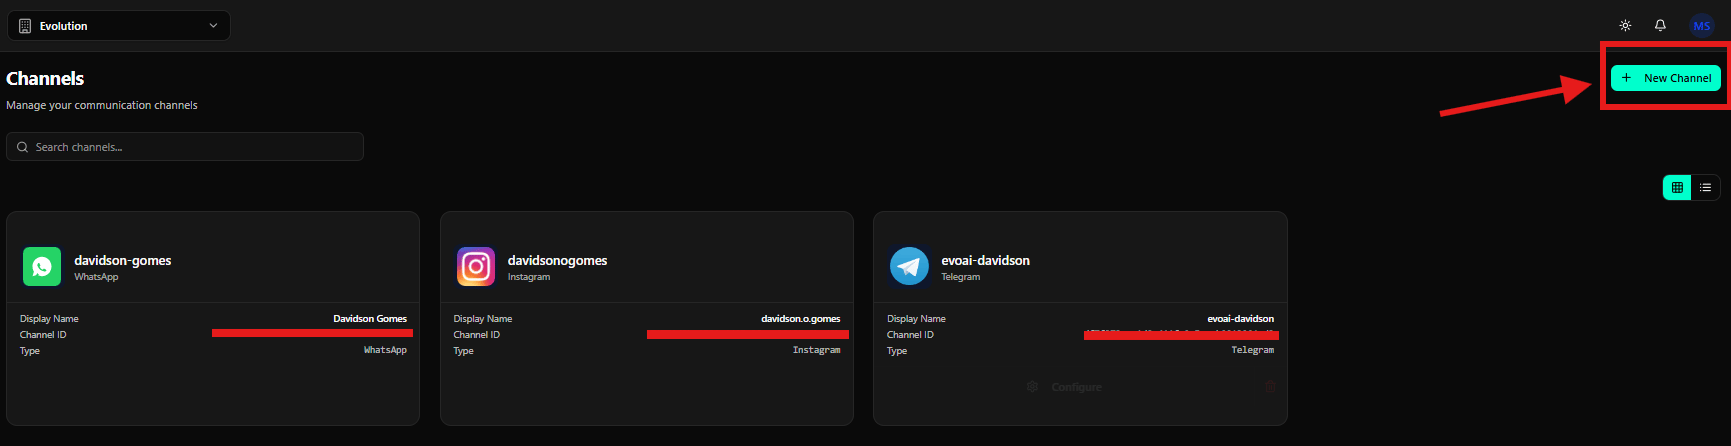
Selecting a Channel Type
After clicking New Channel, the system displays a screen where you can choose the type of channel you want to create.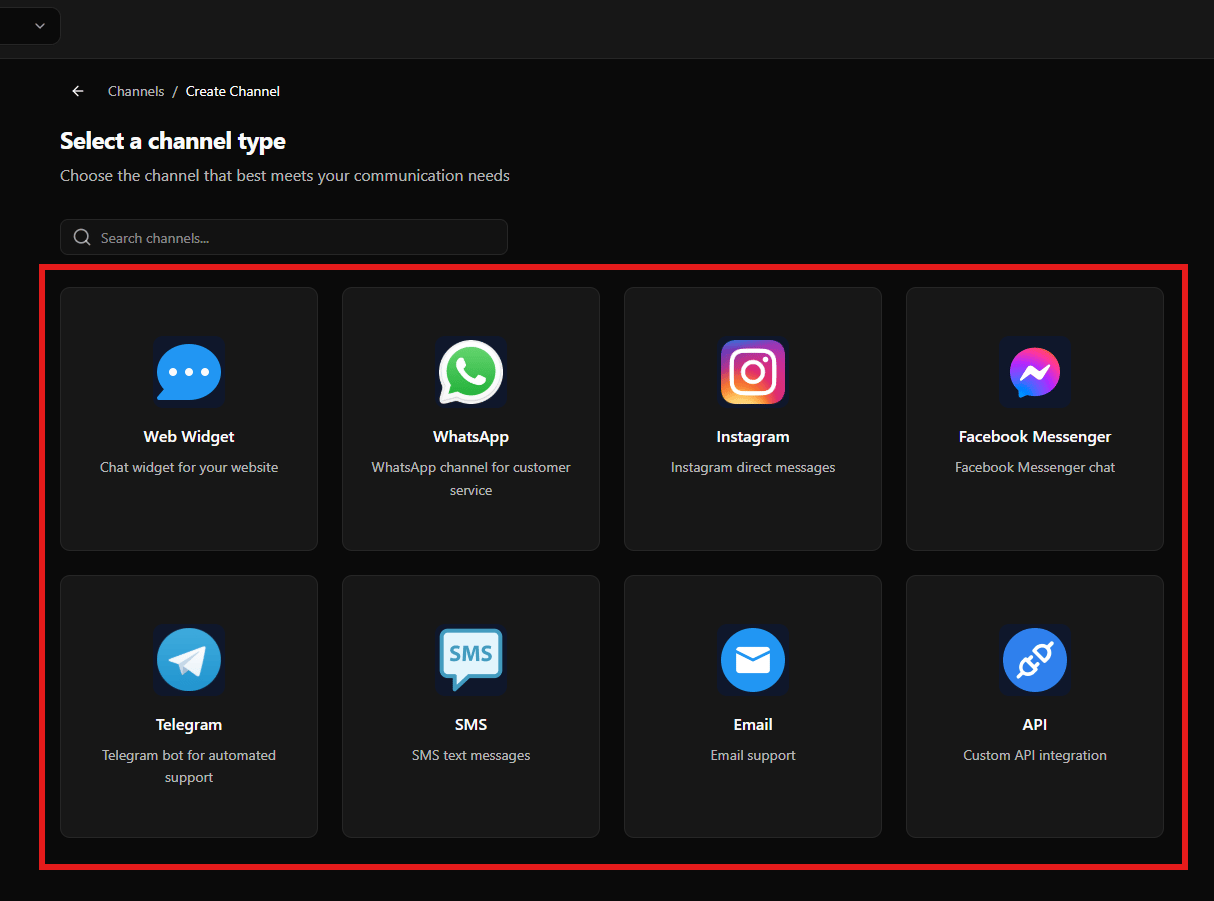
- Web Widget: Chat widget embedded on your website
- WhatsApp: WhatsApp channel for customer communication
- Instagram: Instagram direct messages
- Facebook Messenger: Facebook Messenger conversations
- Telegram: Telegram bot for automated or human support
- SMS: SMS text message communication
- Email: Email-based support channel
- API: Custom API integration for external systems
Channel List and Details
When channels are already configured, they are displayed as cards on the main Channels screen.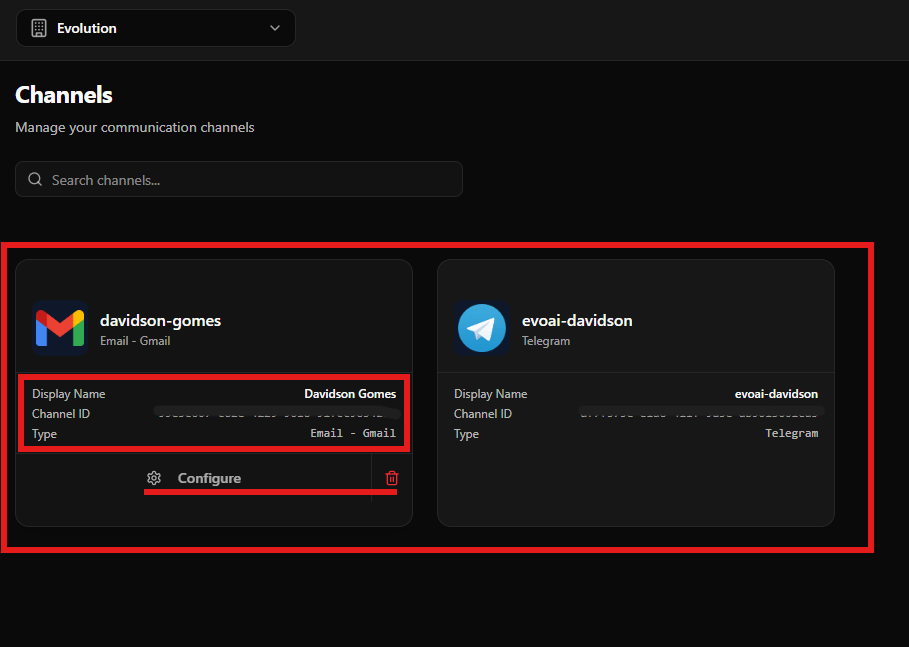
- Channel icon: Indicates the channel type (Email, Telegram, WhatsApp, etc.)
- Channel name: The internal name used to identify the channel
- Display name: The name visible to users or customers
- Channel ID: Unique identifier used internally by the system
- Type: The channel category (Email – Gmail, Telegram, etc.)
Available actions on each channel:
- Configure: Opens channel settings and configuration options
- Delete icon: Removes the channel from the workspace