

Accessing Contacts
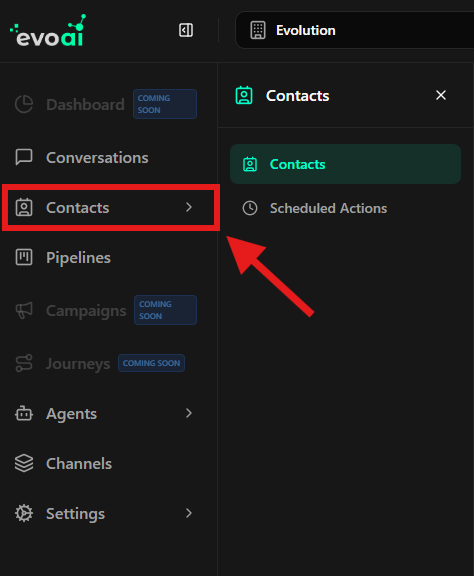
To access the contacts area:- In the left sidebar menu, click Contacts
- Then, select the Contacts option
- The main screen will be displayed with the list of all registered contacts.
Searching Contacts (Quick Search)
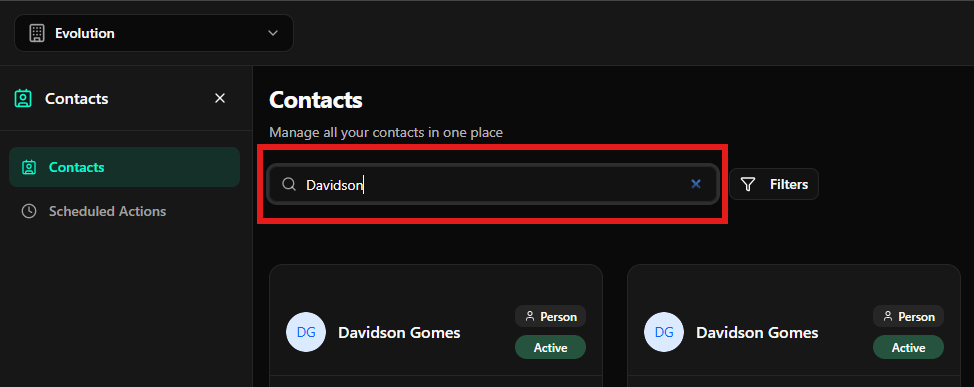
The search bar allows you to quickly locate contacts by name.How to search
- At the top of the screen, use the Search contacts field
- Type the name or part of the name of the desired contact
- The contact list will be automatically updated as you type
Creating a New Contact
You can create new contacts directly from the Contacts screen.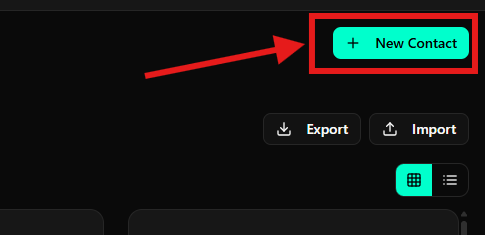
Step 1: Open the creation modal
- Click the + New Contact button, located in the upper right corner of the screen
- A contact creation modal will be displayed
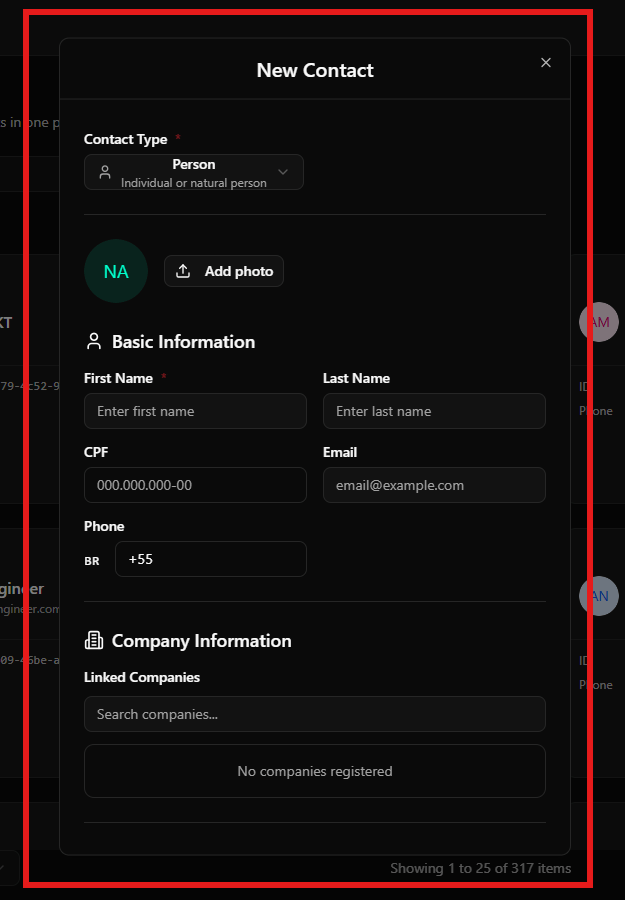
Step 2: Fill in contact details
In the creation modal:- Select the Contact Type (e.g., Person)
-
Fill in the basic information:
- Name
- Last Name
- CPF (optional)
- Phone
- If necessary, link the contact to an existing company in the Company Information section
- After filling in the data, complete the registration according to the options available in the modal
Filtering Contacts
Filters allow you to refine the contact list based on specific criteria. “Step 1: Open filters
Click the Filters button, located next to the search bar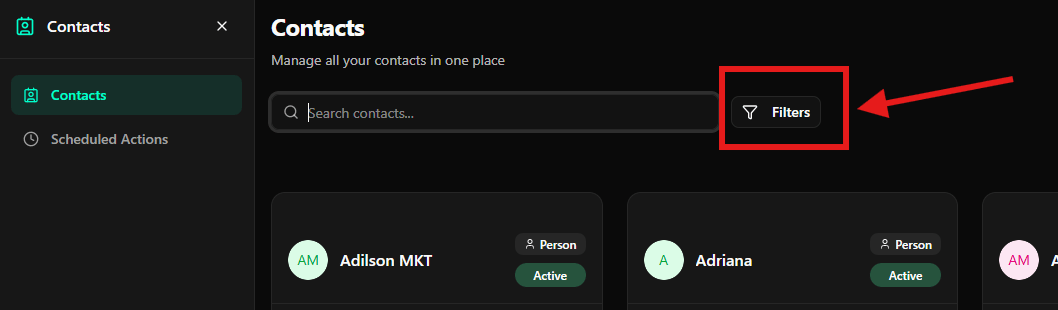
Step 2: Configure filters
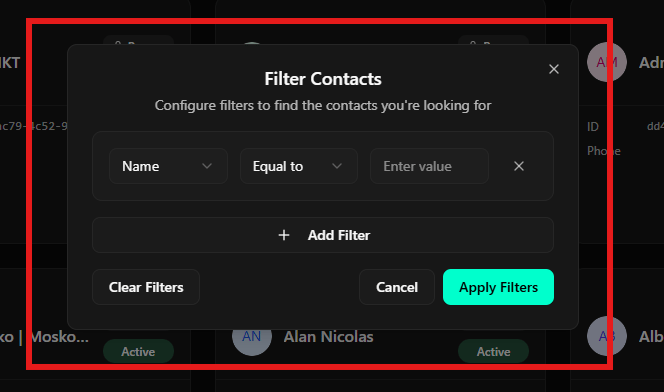
In the Filter Contacts modal, select:- The field to be filtered (e.g., Name)
- The operator (e.g., Equals)
- The desired value
- To add more criteria, click Add Filter
- After configuring the filters, click Apply Filters
Additional options
- Clear Filters: removes all applied filters
- Cancel: closes the modal without applying changes
Final Considerations
- The Contacts screen was designed to facilitate the management of large volumes of contacts
- The combined use of quick search and advanced filters optimizes navigation and data organization
WhatsApp Group Contacts (starting in v1.0.0-rc3)
Starting inv1.0.0-rc3 (EVO-1018), the CRM distinguishes WhatsApp group contacts from real customer contacts:
- WhatsApp groups no longer appear mixed in the main contacts list. A “group” entity is not a person — it represents the room, not an individual interlocutor.
- Messages sent inside a group continue to be associated with the individual author of the message, who appears as a real contact.
- Reports and filters that run over the contact base now reflect only people — no inflating metrics with room IDs.