

Getting Started with EvoNexus
Choose your install method
Pick the Docker flow if you’re unsure. Keep reading for the CLI flow.
Prerequisites (CLI flow only)
- Claude Code CLI — Install Claude Code
- Python 3.11+ with uv
- Node.js 18+ (for the dashboard)
- API keys for integrations you want to use
Installation
Option A — Docker (fastest)
Pulls the official multi-arch images and runs the wizard at http://localhost:8080. Full guide: Installing with Docker.Option B — npx (CLI flow)
Option C — Manual clone
- Your name and company
- Timezone and language
- Which AI provider to use (Anthropic by default; alternatives via OpenClaude)
- Which agents to enable
- Which integrations to configure
config/workspace.yaml— central configconfig/routines.yaml— routine schedulesconfig/providers.json— active AI provider + backend CLI config.env— API keys (fill in after setup)CLAUDE.md— context file for Claude
2. Choose Your AI Provider
The wizard asks which backend should power EvoNexus. Anthropic is the default — if you already have Claude Code authenticated, you don’t need to do anything else. For any other provider (OpenRouter, OpenAI, Gemini, AWS Bedrock, Vertex AI, Codex Auth), EvoNexus uses OpenClaude, a drop-in binary compatible with the Claude CLI protocol. Install it once:config/providers.json and both the terminal-server and the ADW runner re-read it on every session spawn — no restart required when switching.
See docs/dashboard/providers.md for the full provider reference and docs/reference/env-variables.md for all provider-related env vars.
3. Configure API Keys
Edit.env with your keys:
- No keys required for basic operation (agents, skills work without integrations)
DISCORD_BOT_TOKEN— for community monitoringSTRIPE_SECRET_KEY— for financial routines- Social OAuth keys — via the dashboard Integrations page
4. Start the Dashboard
On a VPS (remote): The setup wizard automatically creates a dedicatedevonexus system user (Claude Code refuses --dangerously-skip-permissions as root) and installs a systemd service that starts on boot:
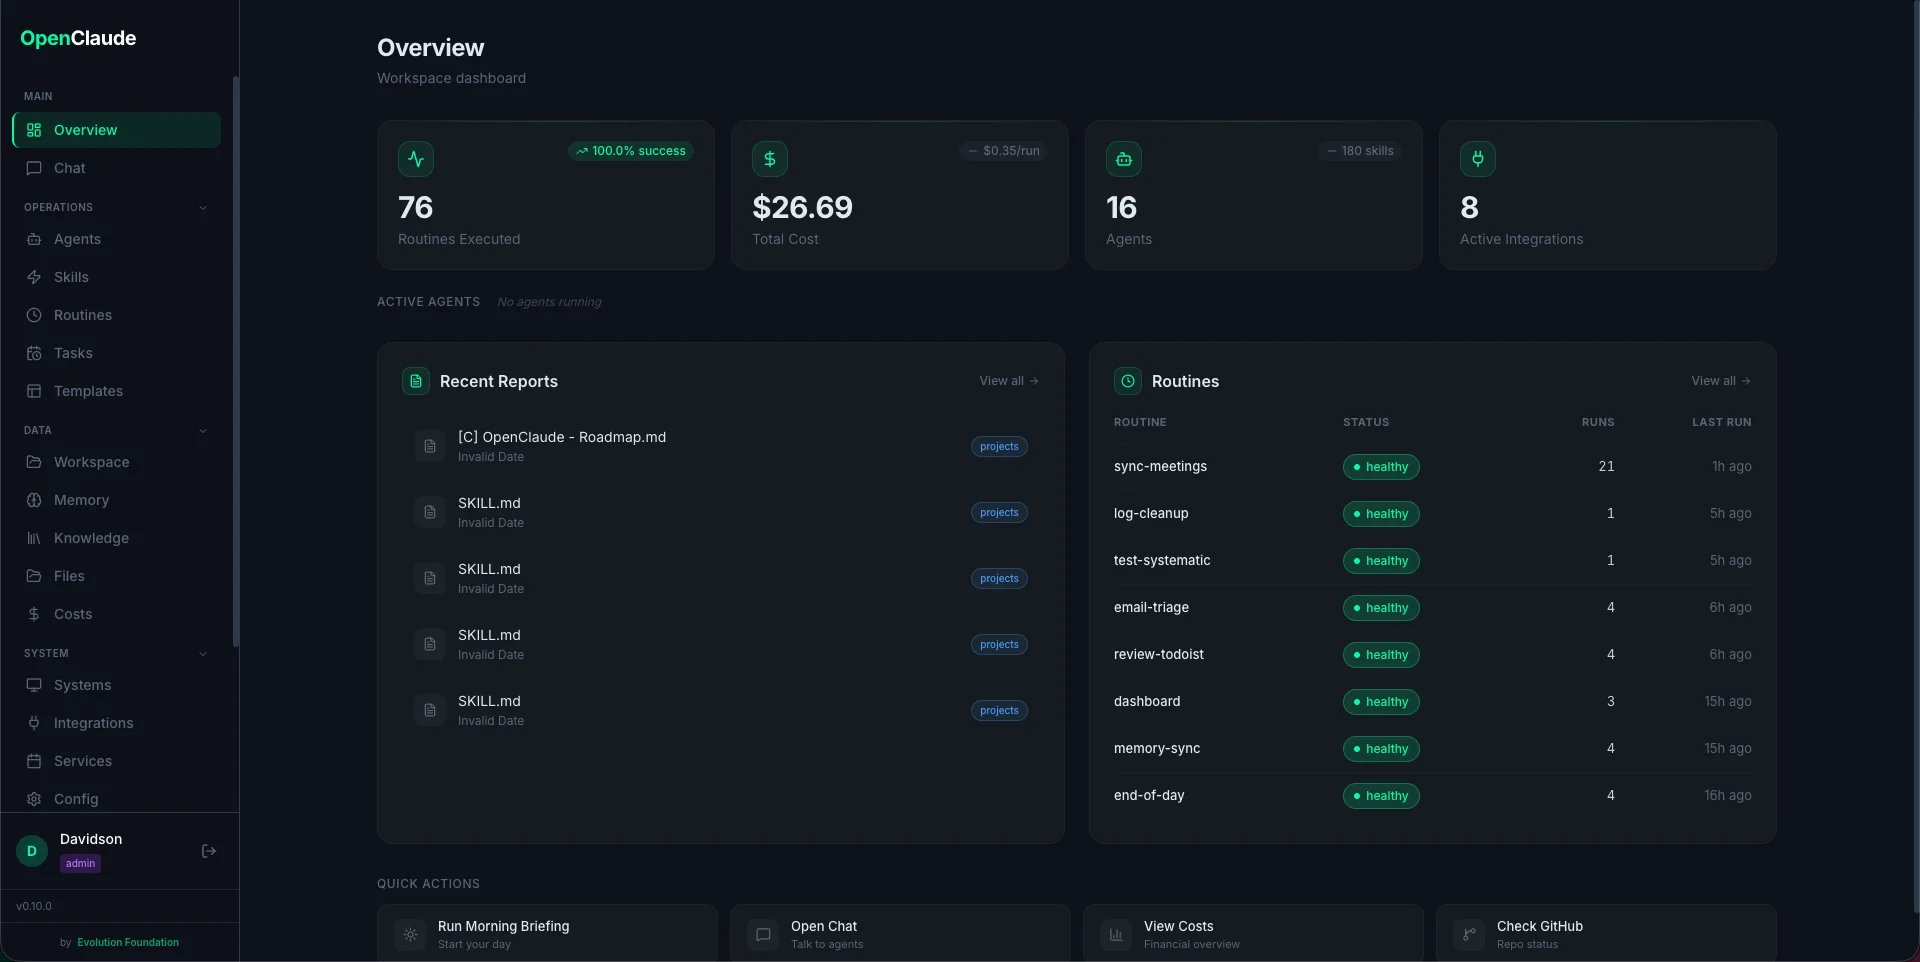
5. Start Automated Routines
On a VPS, the scheduler runs automatically inside the dashboard service. Locally:config/routines.yaml).
6. Use Claude Code — start with /oracle
Open Claude Code in this directory. It reads CLAUDE.md automatically and has access to all agents and skills.
First thing to run: /oracle. Oracle is the official entry point — it interviews you about your business, maps workspace capabilities to your pain points, and delivers a phased activation plan through the prod-activation-plan skill (index file + folder-per-phase + file-per-item, each with suggested agent team and pending decisions). You never have to guess the next step.
Next Steps
- Read Architecture to understand how agents, skills, and routines work together
- Browse
.claude/skills/CLAUDE.mdfor the full skill index (175+ skills) - Check
ROUTINES.mdfor routine documentation - Customize
config/routines.yamlto adjust schedules