

Esta página todavía está en inglés. La traducción al español está en progreso.
Getting Started with EvoNexus
Choose your install method
Pick the Docker flow if you’re unsure. Keep reading for the CLI flow.
Prerequisites (CLI flow only)
- Claude Code CLI — Install Claude Code
- Python 3.11+ with uv
- Node.js 18+ (for the dashboard)
- API keys for integrations you want to use
Installation
Option A — Docker (fastest)
Pulls the official multi-arch images and runs the wizard at http://localhost:8080. Full guide: Installing with Docker.Option B — npx (CLI flow)
Option C — Manual clone
- Your name and company
- Timezone and language
- Which AI provider to use (Anthropic by default; alternatives via OpenClaude)
- Which agents to enable
- Which integrations to configure
config/workspace.yaml— central configconfig/routines.yaml— routine schedulesconfig/providers.json— active AI provider + backend CLI config.env— API keys (fill in after setup)CLAUDE.md— context file for Claude
2. Choose Your AI Provider
The wizard asks which backend should power EvoNexus. Anthropic is the default — if you already have Claude Code authenticated, you don’t need to do anything else. For any other provider (OpenRouter, OpenAI, Gemini, AWS Bedrock, Vertex AI, Codex Auth), EvoNexus uses OpenClaude, a drop-in binary compatible with the Claude CLI protocol. Install it once:config/providers.json and both the terminal-server and the ADW runner re-read it on every session spawn — no restart required when switching.
See docs/dashboard/providers.md for the full provider reference and docs/reference/env-variables.md for all provider-related env vars.
3. Configure API Keys
Edit.env with your keys:
- No keys required for basic operation (agents, skills work without integrations)
DISCORD_BOT_TOKEN— for community monitoringSTRIPE_SECRET_KEY— for financial routines- Social OAuth keys — via the dashboard Integrations page
4. Start the Dashboard
On a VPS (remote): The setup wizard automatically creates a dedicatedevonexus system user (Claude Code refuses --dangerously-skip-permissions as root) and installs a systemd service that starts on boot:
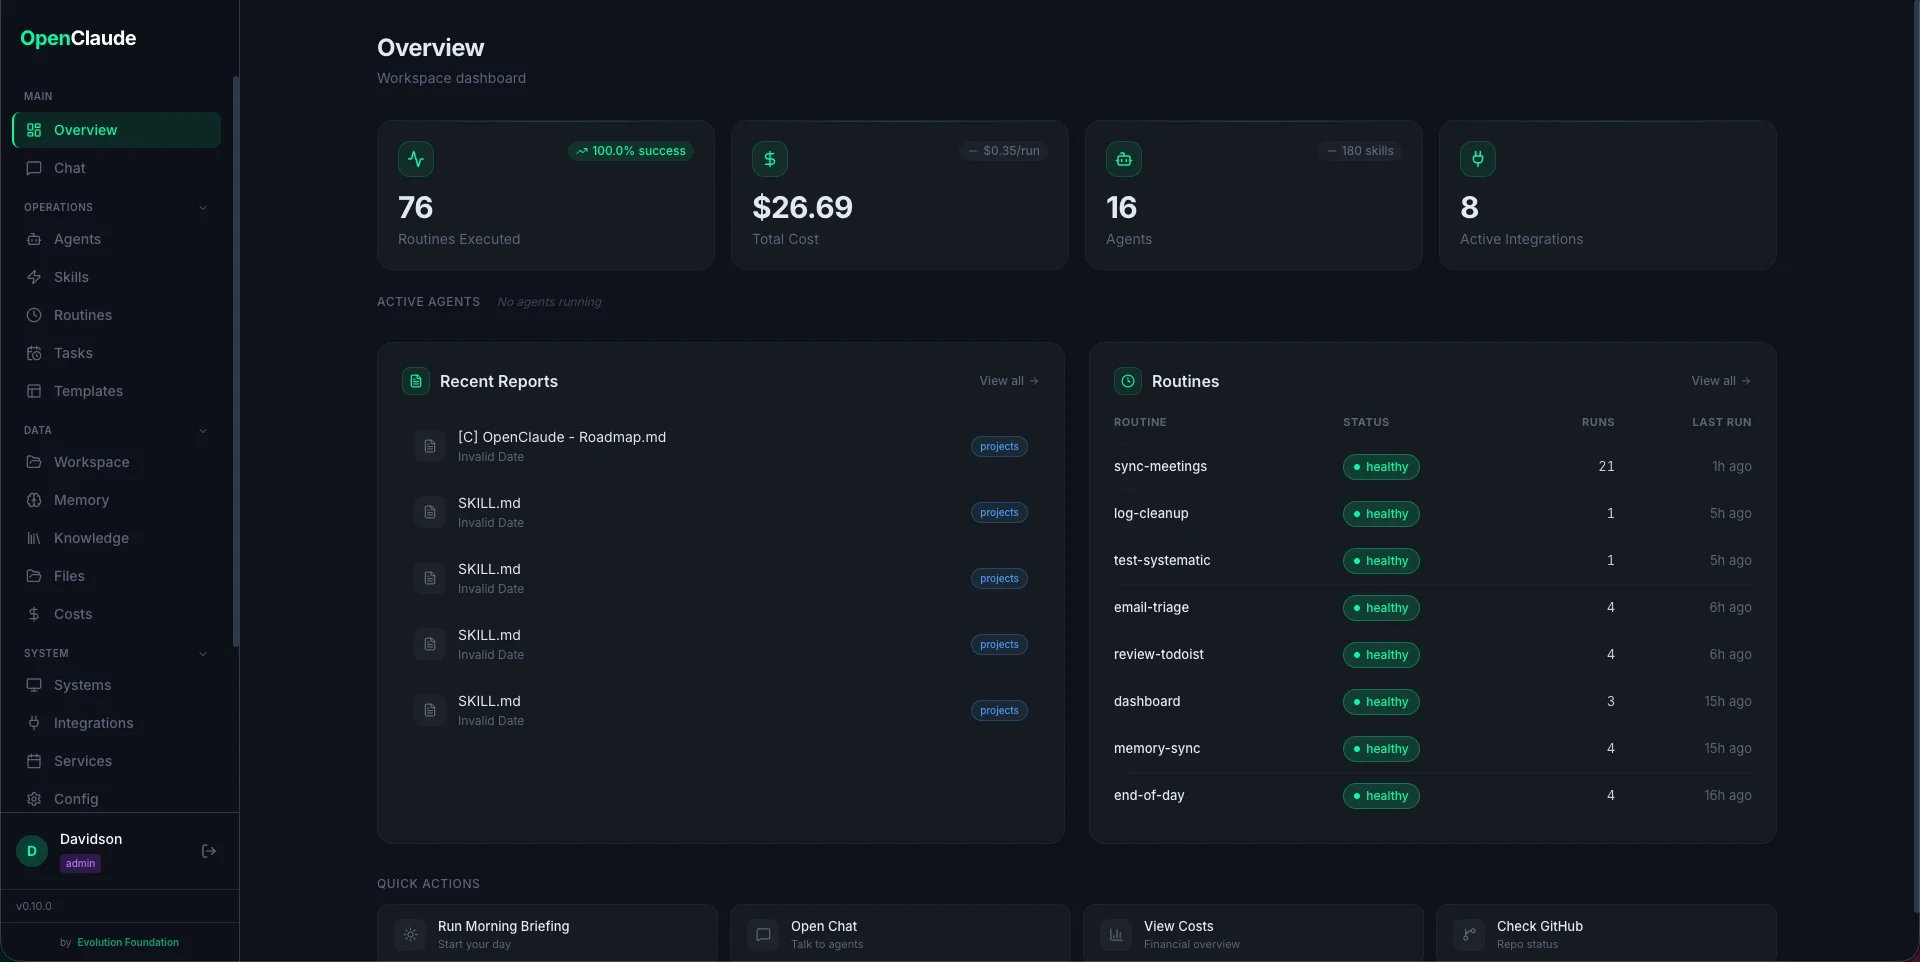
5. Start Automated Routines
On a VPS, the scheduler runs automatically inside the dashboard service. Locally:config/routines.yaml).
6. Use Claude Code — start with /oracle
Open Claude Code in this directory. It reads CLAUDE.md automatically and has access to all agents and skills.
First thing to run: /oracle. Oracle is the official entry point — it interviews you about your business, maps workspace capabilities to your pain points, and delivers a phased activation plan through the prod-activation-plan skill (index file + folder-per-phase + file-per-item, each with suggested agent team and pending decisions). You never have to guess the next step.
Next Steps
- Read Architecture to understand how agents, skills, and routines work together
- Browse
.claude/skills/CLAUDE.mdfor the full skill index (175+ skills) - Check
ROUTINES.mdfor routine documentation - Customize
config/routines.yamlto adjust schedules