

Step 1: Activate the Evolution license
Before using Evolution Go, you need to activate your license. When accessing the system for the first time, you will be redirected to the activation screen.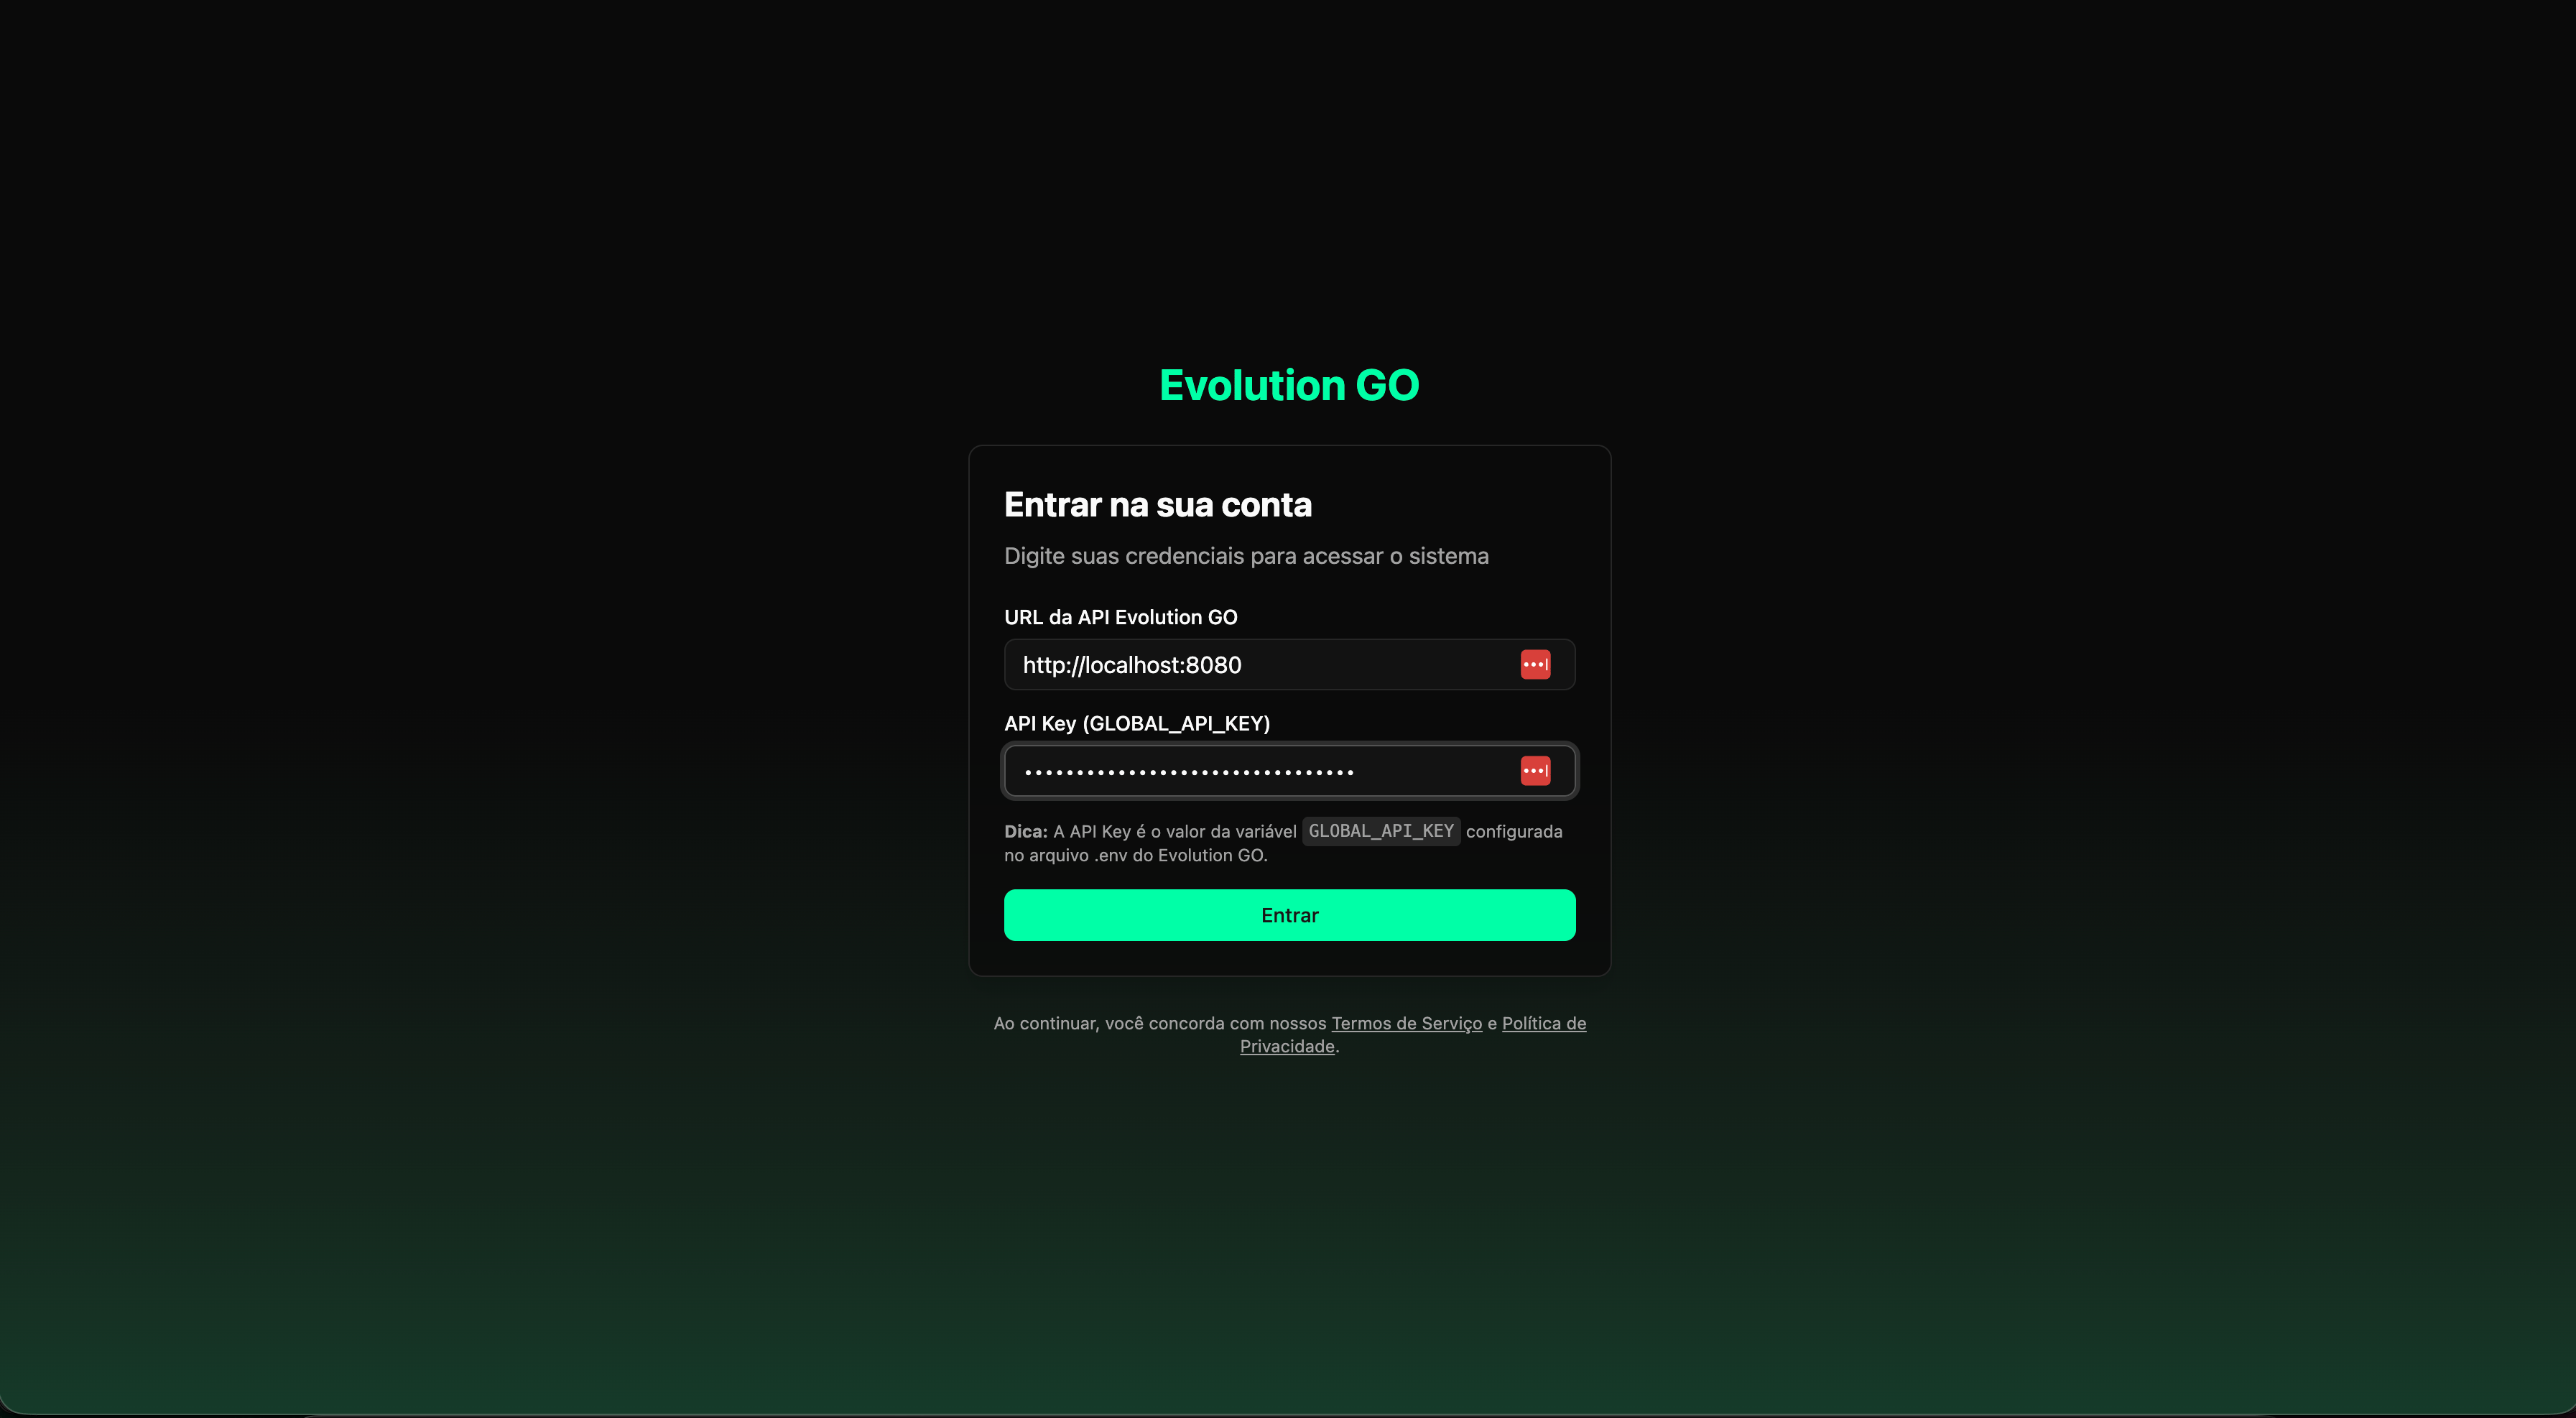
How to activate
- Access your Evolution Go URL in the browser (e.g.:
http://localhost:8080or your server domain) - On the activation screen, you will see the form “Activate your Evolution license”
- Fill in the fields:
- Full Name — Your full name for registration
- Email — Your email to receive the activation Magic Link
- Click “Send Magic Link”
- Check your inbox and click the link received to activate
The license is linked to your email. Keep this email, as it will be needed for future activations or server migrations.
Step 2: Login to the panel
After activating the license, you will be directed to the Evolution Go login screen.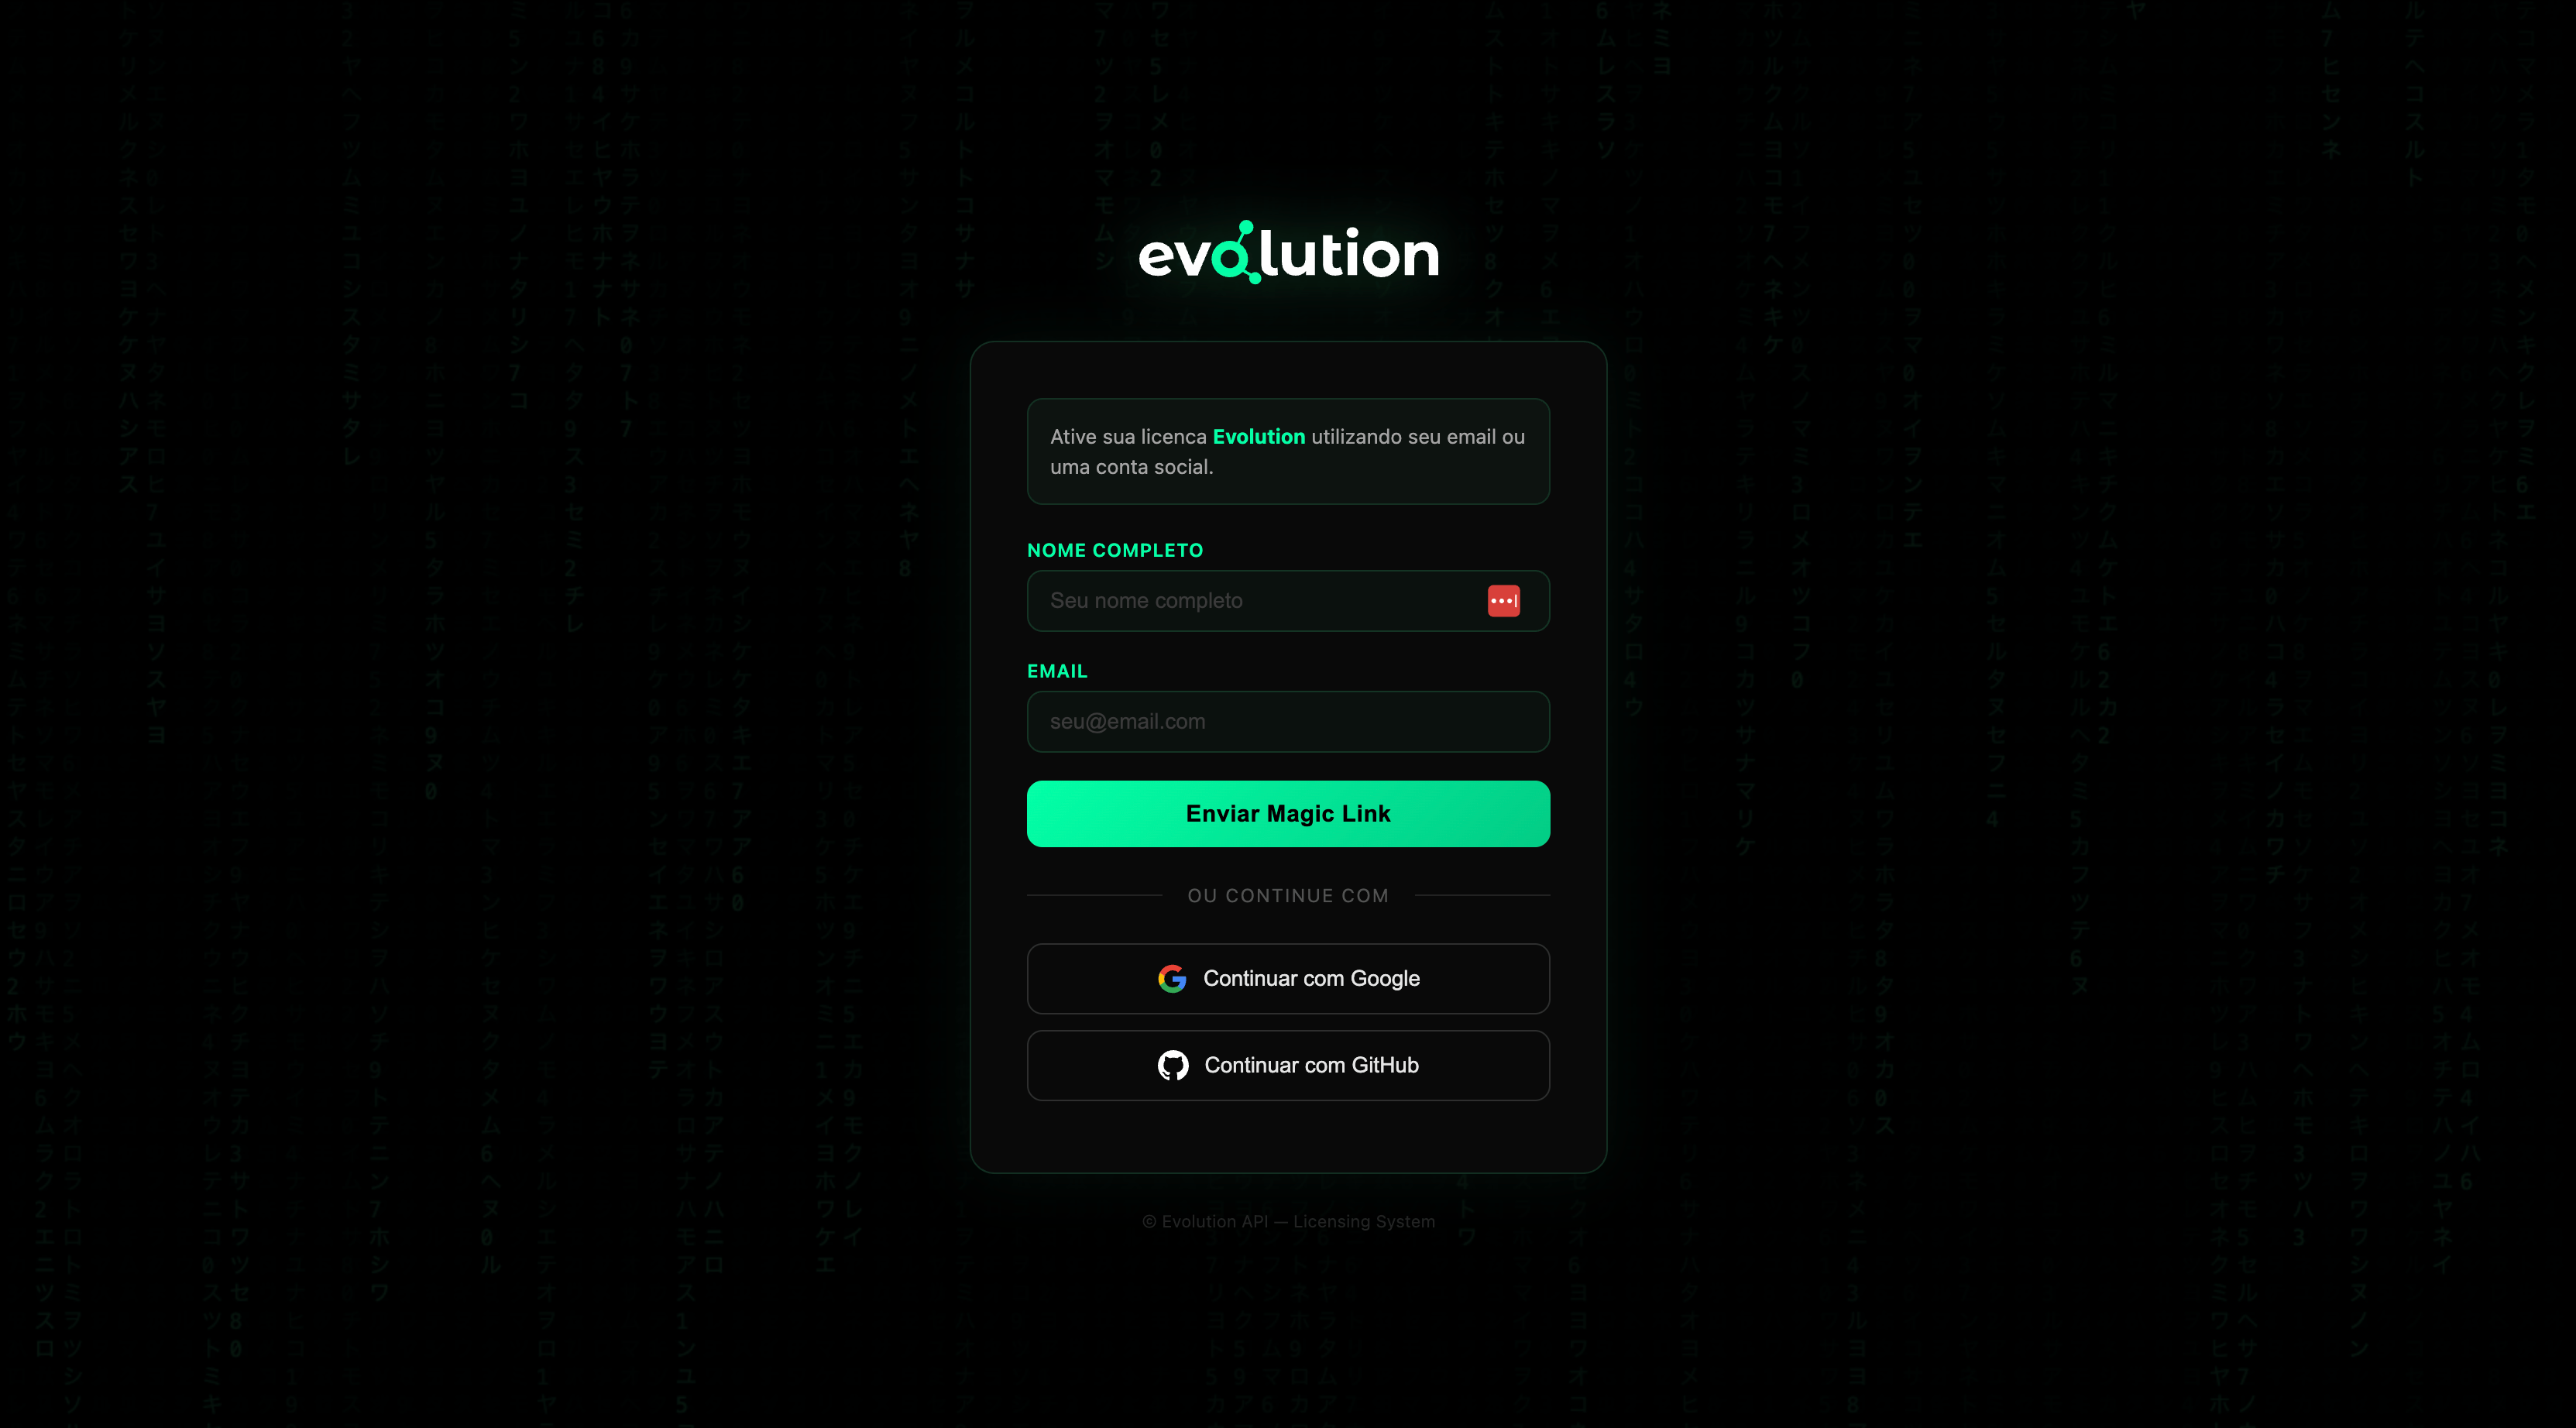
How to log in
- In the “Evolution GO API URL” field, enter your instance URL:
- For local installation:
http://localhost:8080 - For remote server:
https://your-domain.com(or the server IP with port)
- For local installation:
- In the “API Key (GLOBAL_API_KEY)” field, enter the API key you configured in the
.envfile during installation
Where to find the API Key
The API Key is in the.env file at the root of your Evolution Go project:
docker-compose.yml:
- Click “Enter” to access the panel
Step 3: Dashboard
After login, you will be directed to the Evolution Go Dashboard.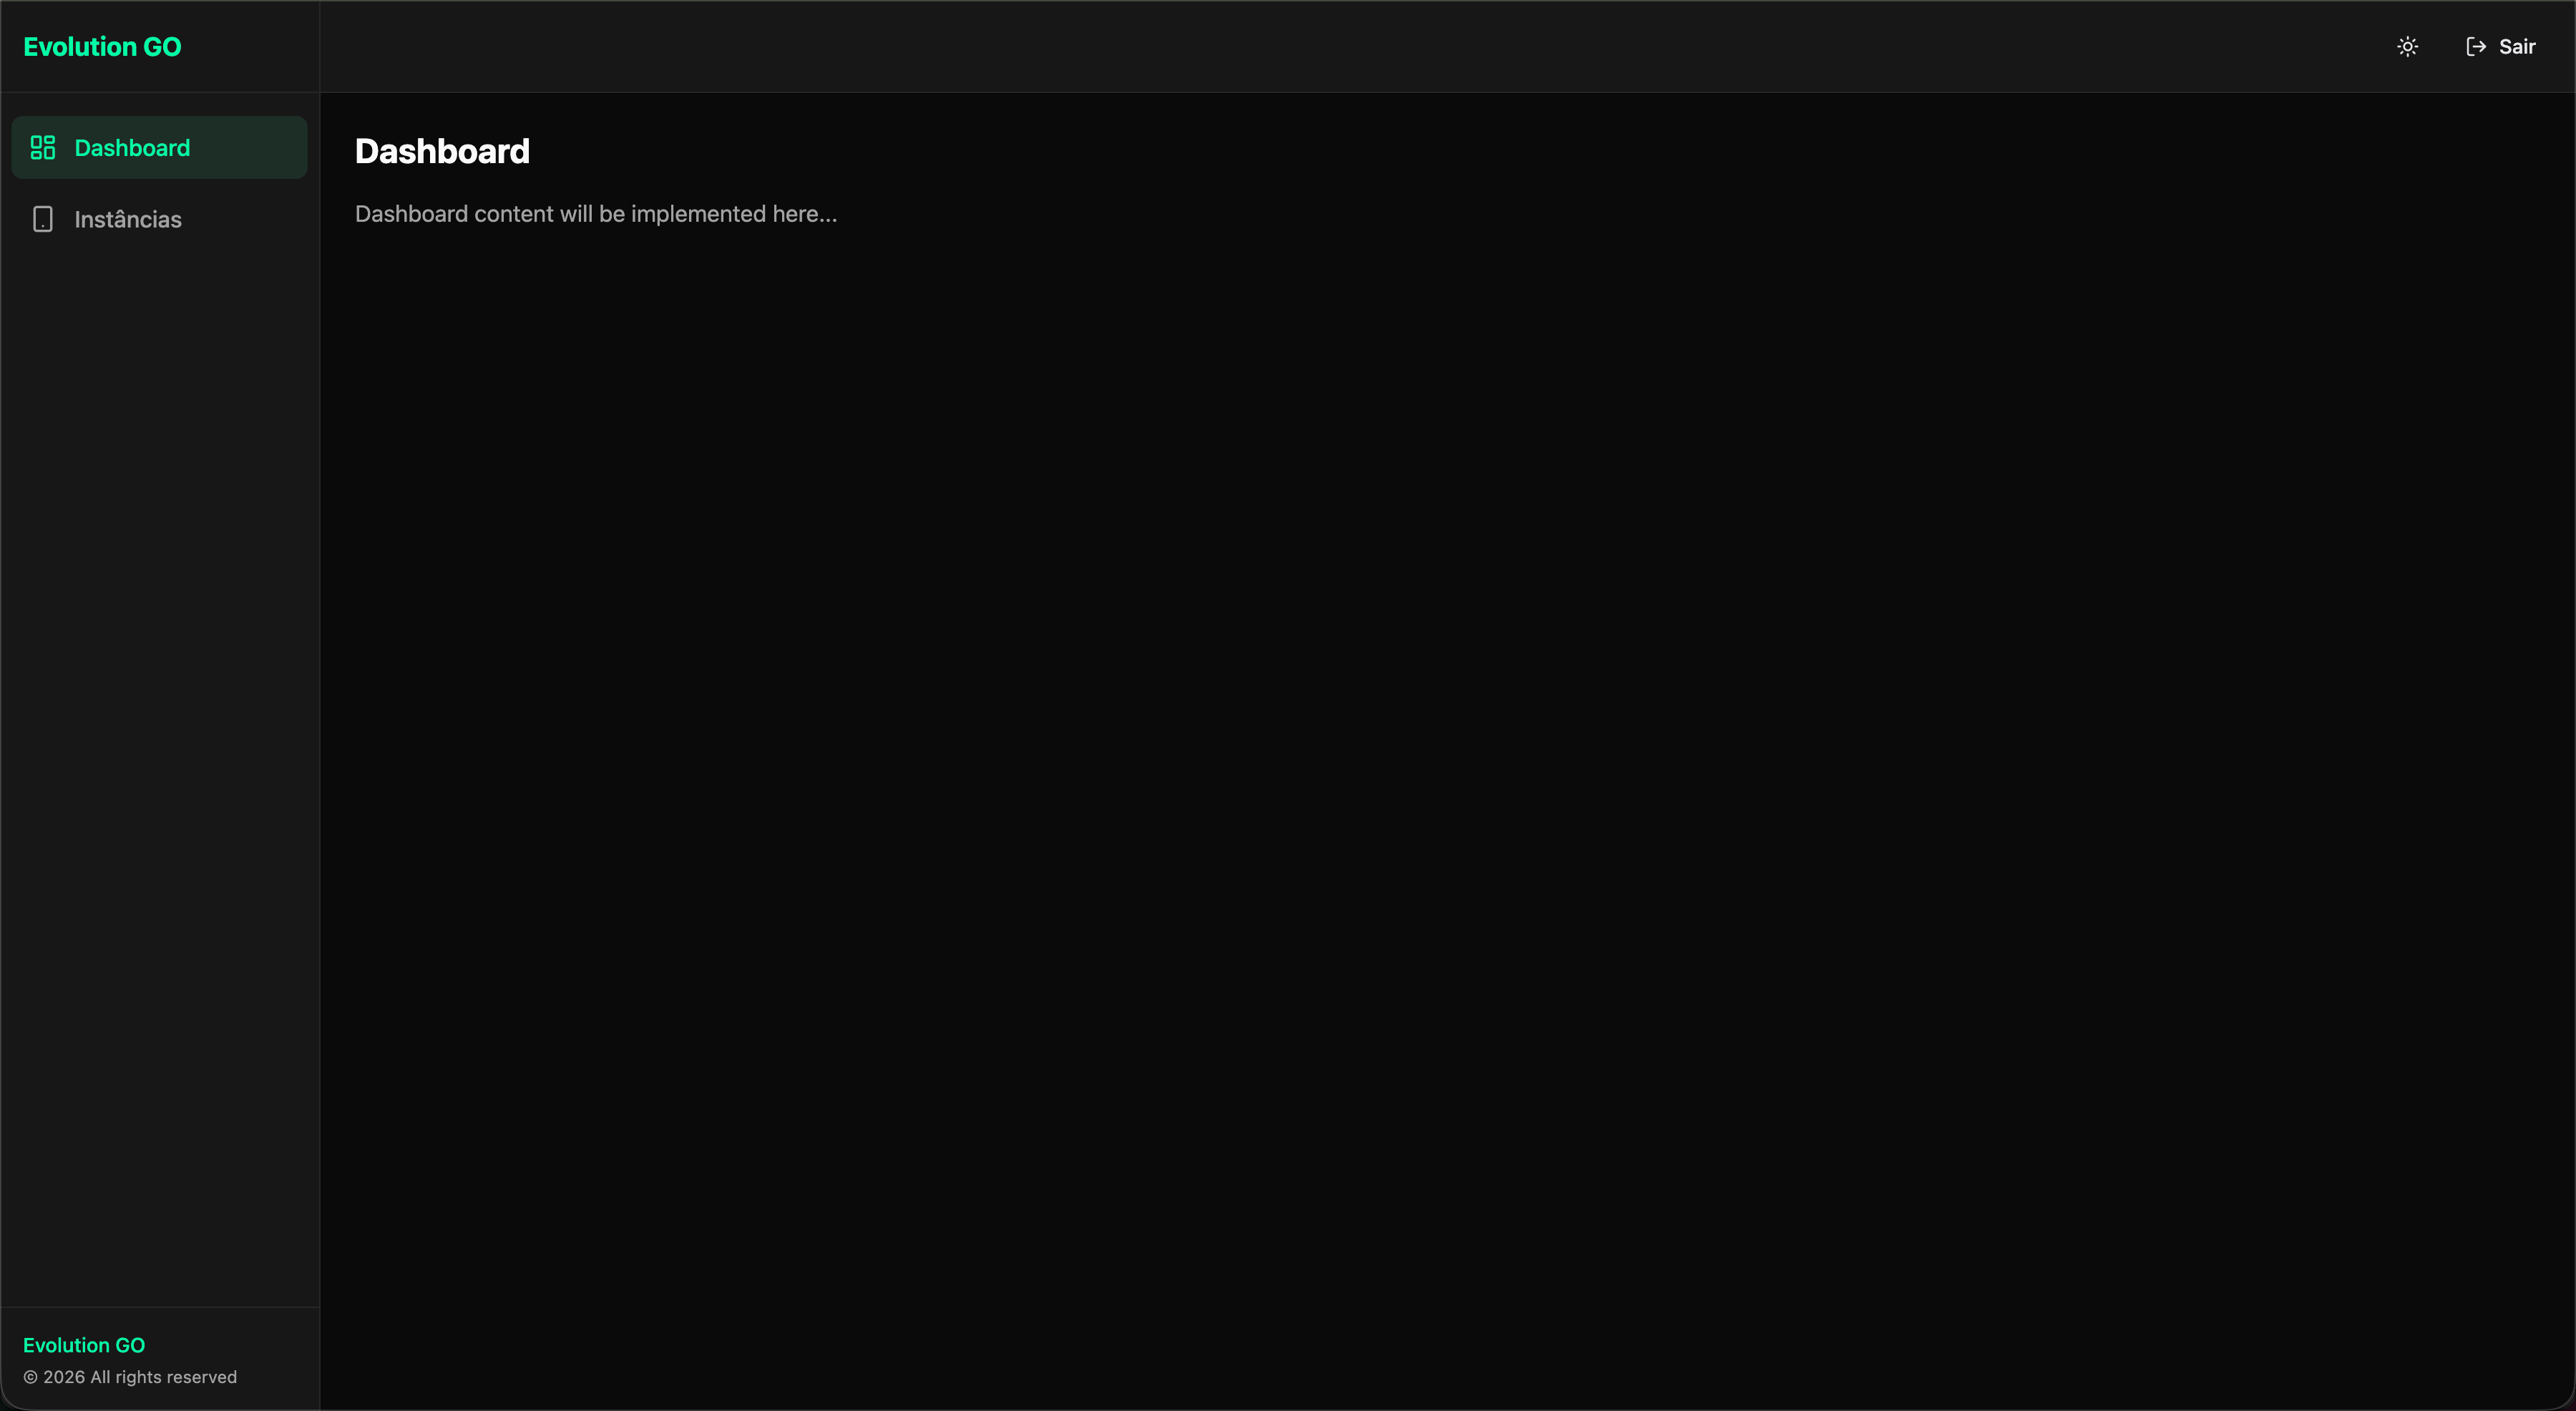
- Dashboard — System overview (metrics and status will be implemented here)
- Instances — Management of your WhatsApp instances
- Theme toggle (light/dark)
- “Exit” button to log out
Step 4: Create your first instance
Navigate to the Instances section in the sidebar to manage your WhatsApp connections.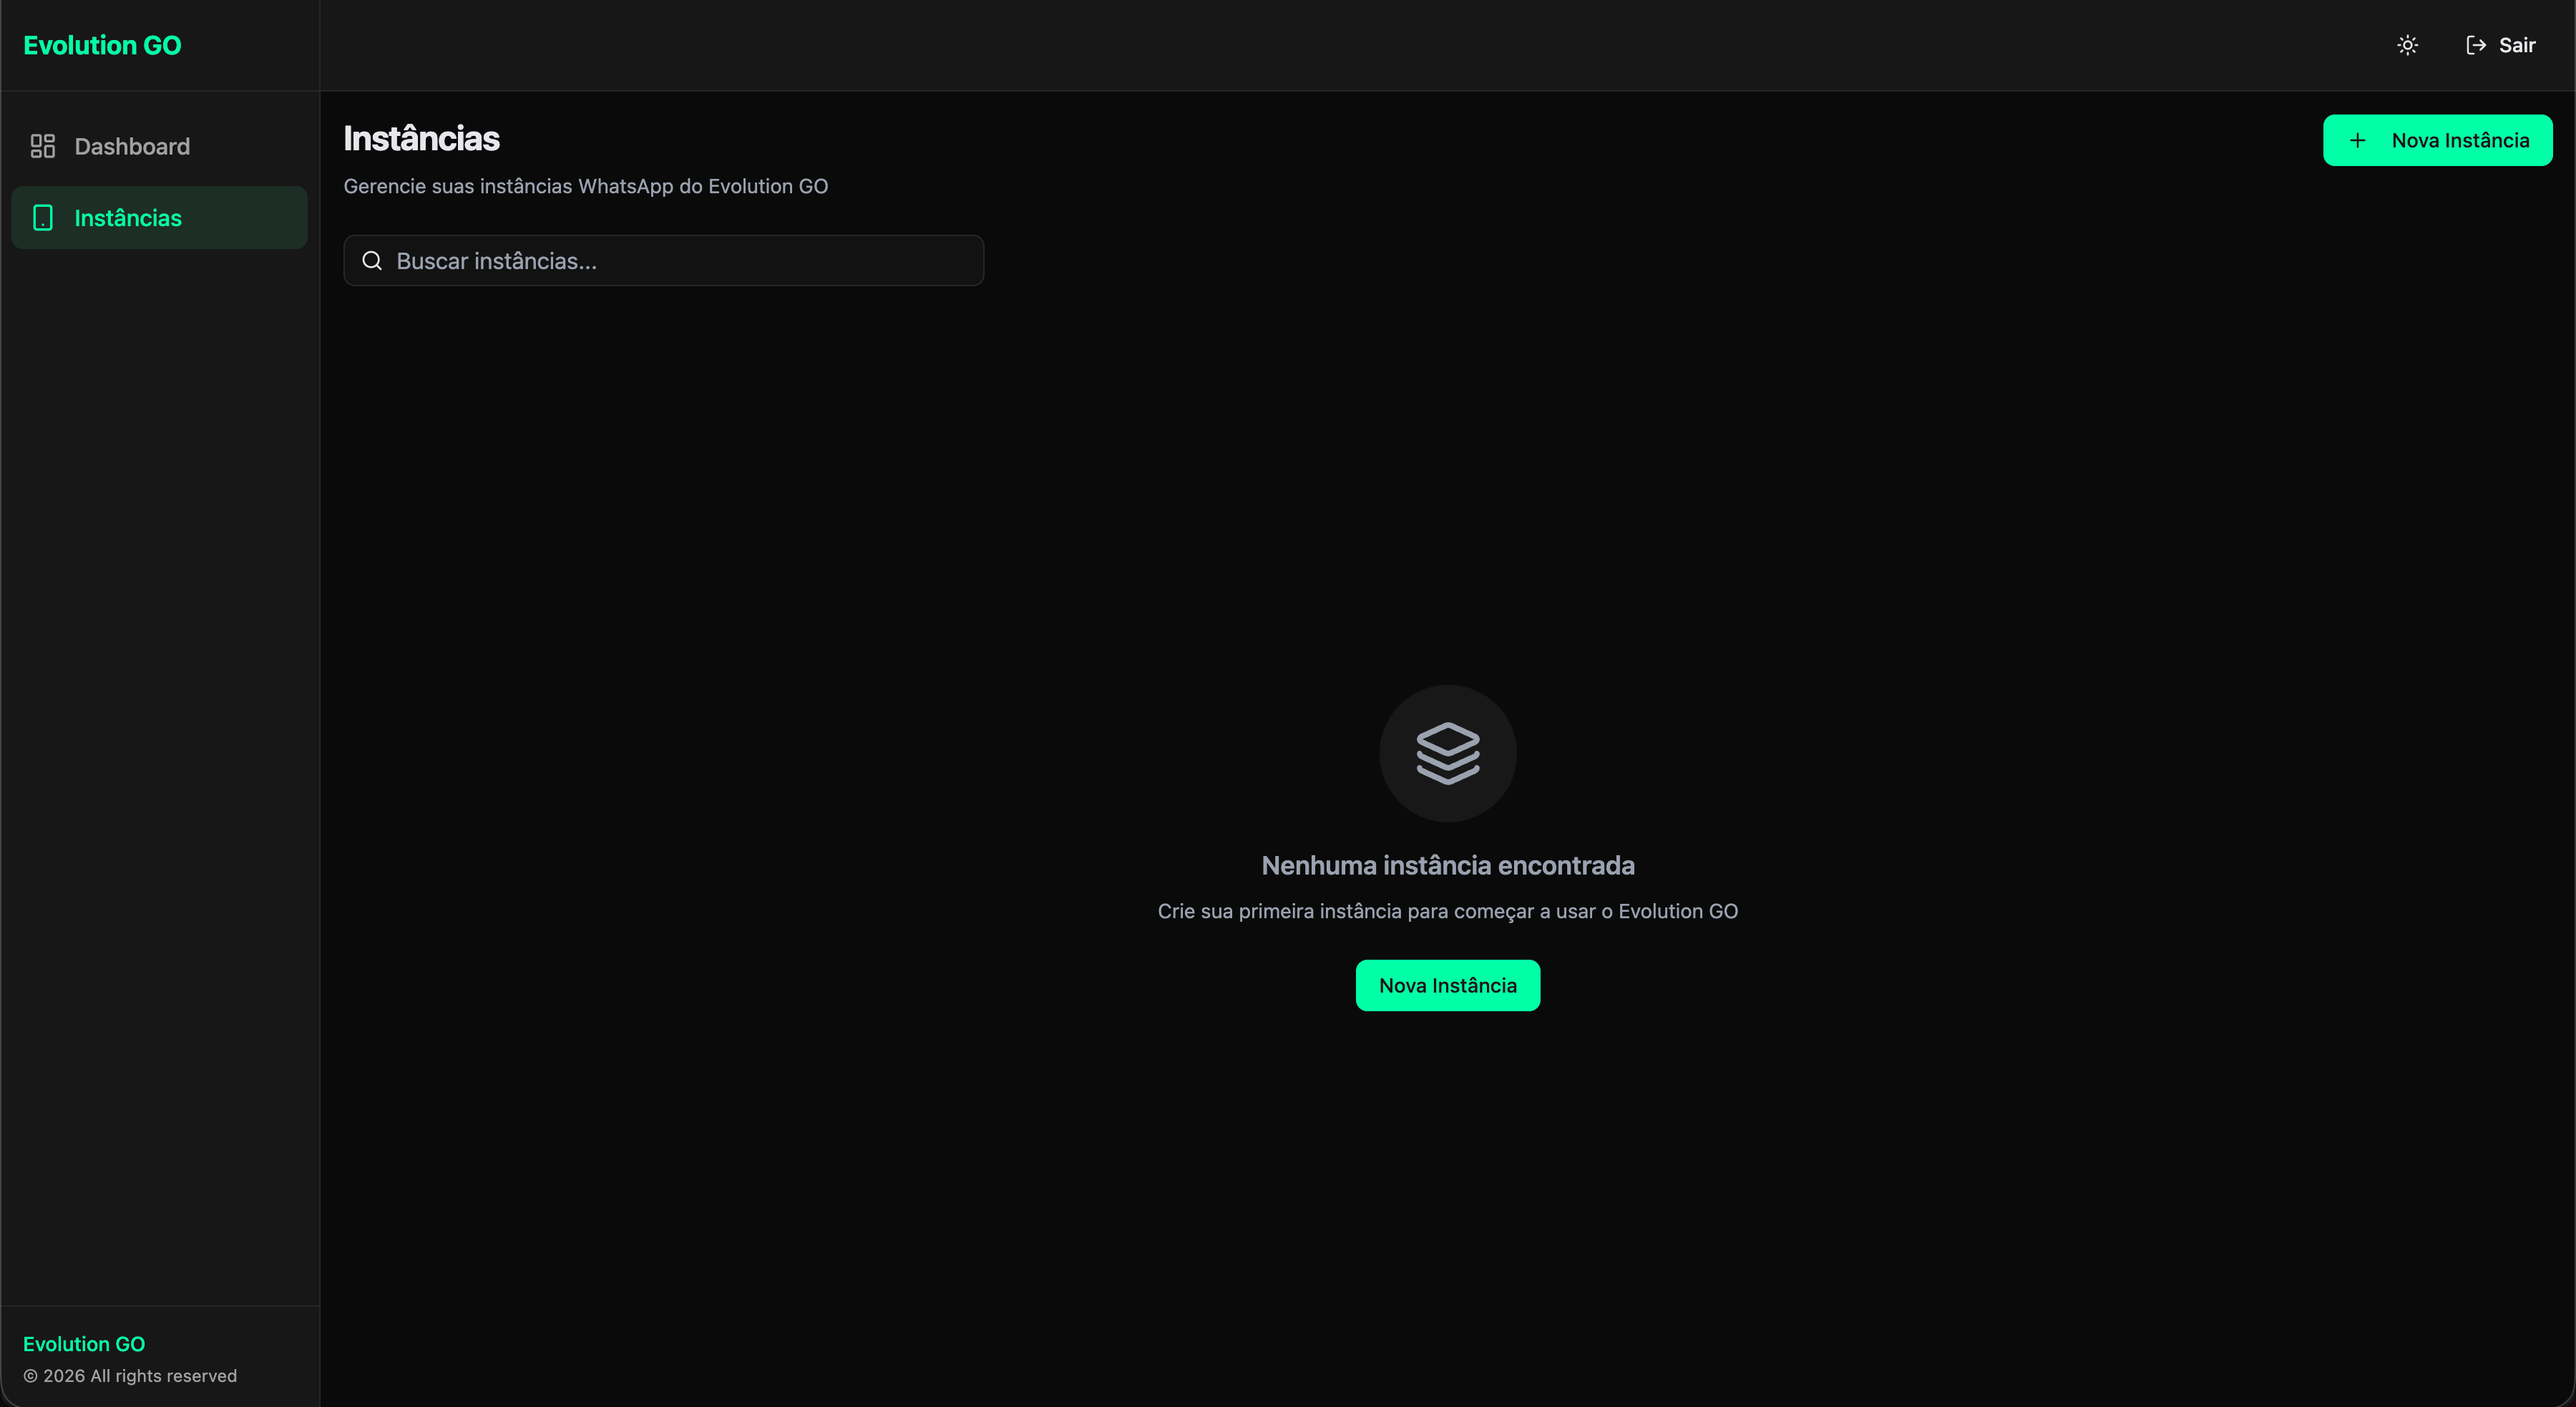
- A search field to filter instances
- The ”+ New Instance” button in the top right corner
- A message indicating no instances were found
Creating the instance
Click ”+ New Instance” to open the creation form: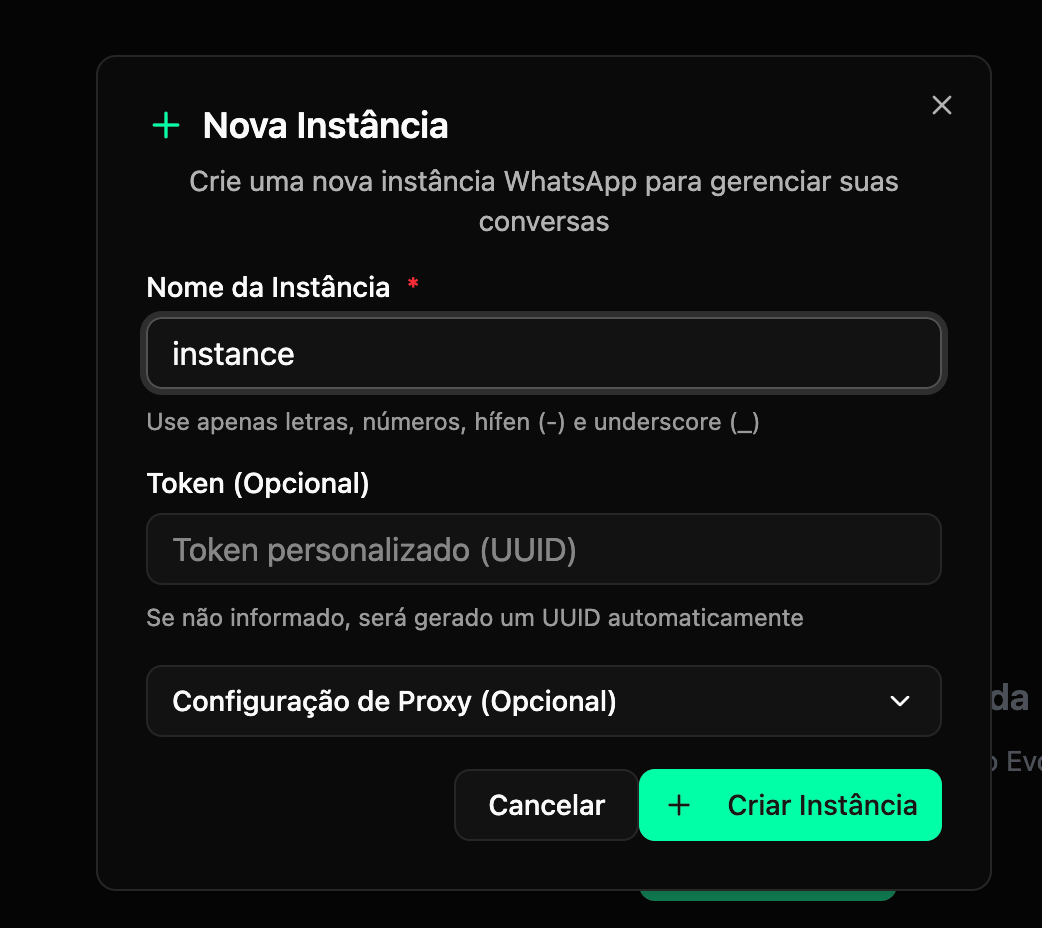
Click ”+ Create Instance” to finalize.
Step 5: Connect to WhatsApp
After creating the instance, it will appear in the list with “Disconnected” status (in red).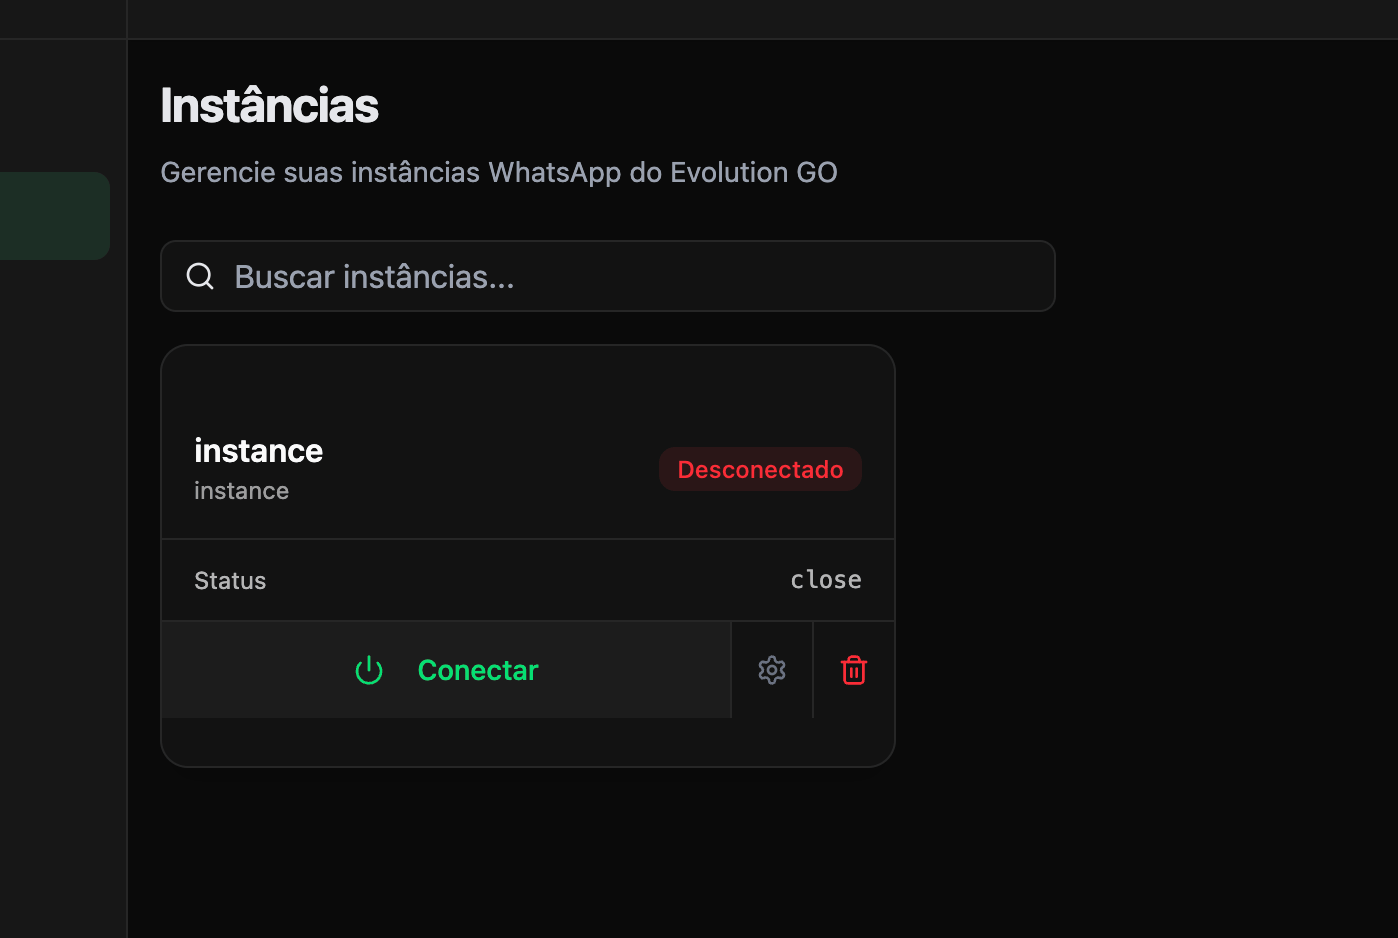
- Name and instance identifier
- Current Status (
close= disconnected) - Action buttons:
- Connect (power icon, green) — Starts the WhatsApp connection
- Settings (gear icon) — Opens instance settings
- Delete (trash icon, red) — Removes the instance
Configure connection
Click the “Connect” button or the gear icon to open the connection configuration modal: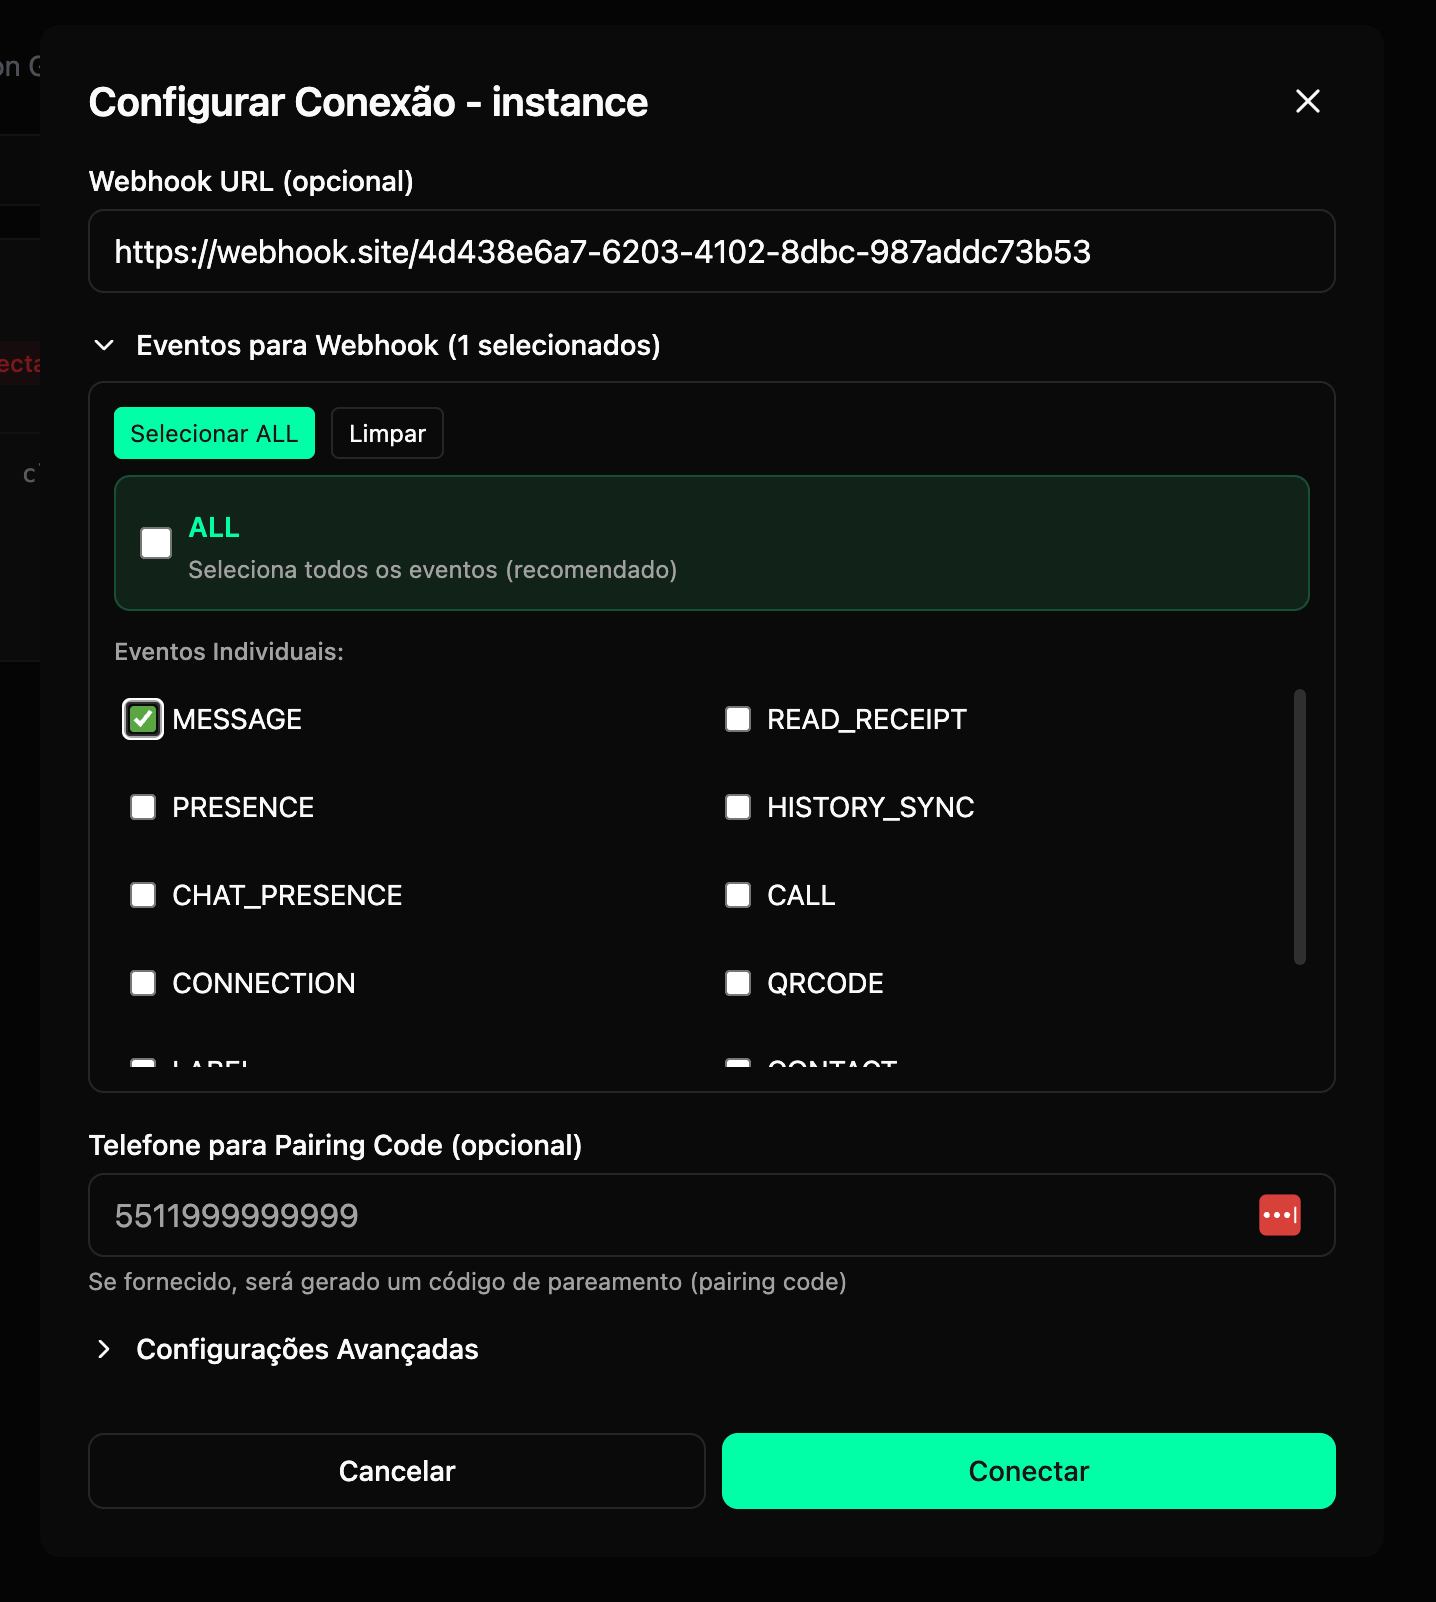
Webhook URL (optional)
Enter the URL that will receive events from the instance. Example:Webhook Events
Select which events will be sent to the webhook URL:- ALL — Selects all events (recommended to start)
- Or choose individual events:
Phone for Pairing Code (optional)
If you prefer to connect via pairing code instead of QR Code, enter the phone number in the format:Advanced Settings
Expand to see additional instance configuration options.Finalize connection
After configuring, click “Connect” to start the connection. Depending on the chosen method:- QR Code: A QR Code will be displayed on screen. Open WhatsApp on your phone, go to Settings > Linked Devices > Link a Device and scan the code.
- Pairing Code: An 8-digit code will be generated. On your phone’s WhatsApp, go to Settings > Linked Devices > Link a Device > Link with phone number and enter the code.
After successful connection, the instance status will change from “Disconnected” to “Connected” (in green) and events will start being sent to the configured webhook.
Next steps
HostGator Hosting
Need a server? Check out VPS plans optimized for Evolution Go